How to make a business card in Word: step-by-step instructions
If you have your own business or are a public person providing certain services, then you definitely need business cards with contact information on them. Most people think that making them is not so easy, but this opinion is wrong. Yes, of course, special software for creating business cards will not hurt in this matter, but in this article we will talk about a non-standard approach - how to make business cards in Word. Fortunately, the program's huge range of tools will help us with this.
Introduction
Despite the fact that Microsoft Word is a text editor, if you are smart, you can create a business card without extra effort that will not differ from those made in a professional program. So, let's move directly to the step-by-step instructions. How to make a business card in Word?
Let's start creating a business card
Further actions will be performed using the example of the 2016 program, but due to the fact that the interface of all versions is similar, the presented guide is also suitable for creating a business card in Word 2007 and other variations.
As in any other matter, when creating business cards in Word, you initially need to carry out some preparatory steps, in particular, you need to decide on the size of the cards themselves. If you are guided by GOST, then the dimensions of the business card should be as follows:
- Height - 50 millimeters.
- Length - 90 millimeters.
The article will consider an example with these values, but it is worth saying that you can use any other sizes, after all - this is your business card.
Creating a Layout
Having decided on the dimensions, you need to create a layout in the program. To do this, you can use two tools to choose from: rectangle or table. We will work with the first option, but it is worth making a note about the table - it is in some way more convenient to use, because you can create several business cards at once (one cell - one business card). However, in the future it will be problematic to place the remaining elements. By the way, the made layout can be used in the future as a business card template in Word.
So now you need to do the following:
- Go to the "Insert" tab. In the Shapes tool group, select the Rectangle object. It is located in the section of the same name.
- With it selected, draw a rectangle on the work area. For now it can be of any size.
- Once you've done this, select it so that the Format tab appears in the toolbar.
- In this tab, in the “Size” tool group, enter the values you need, in our case - 50 to 90.
- All that remains is to add a background to the object to make ours look beautiful and presentable. To do this, in the “Format” tab, select the appropriate tool from the “Shape Styles” group and click on the desired color or select the texture you like.
Making text design
We have made a layout of the future business card; now we need to place text information on it, namely contact information and key information that can interest a potential client, in a concise form. You should first decide what you will indicate and where exactly on the card. Also, many experts recommend adding thematic illustrations and logos to a business card, but we’ll talk about this later, now let’s focus on the text.
So, we propose the following model for placing text information: at the top will be the last name, first name and patronymic (if you are a private person) or the name of the company (if legal), and on the right side of the business card we will place contact information. We will leave the left part for the future logo or thematic picture.
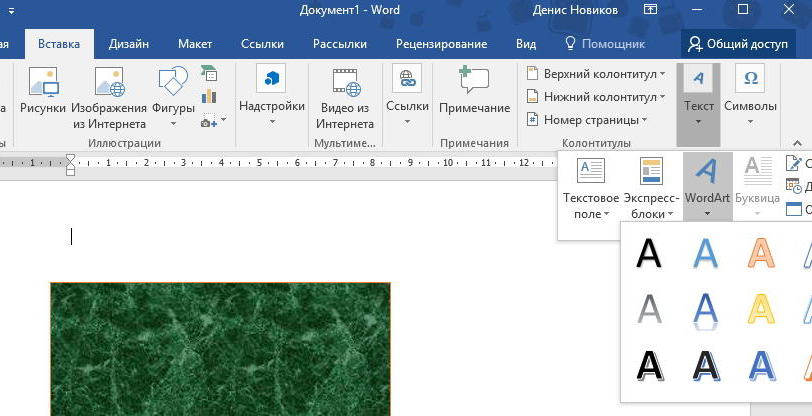
Having figured out the placement of elements, you can get straight to the point. We will use WordArt objects as decoration. Here's what you need to do:
- In Word, open Tools from the Insert tab.
- Click on the WordArt button, which is located in the "Text" tool group.
- From the list of proposed styles, select the one you like by left-clicking on it.
- Now click the same button on the top of the business card and in the field that appears, enter the company name or last name, first name, patronymic.
- Resize the text field so that the entered text fits completely.
- Select a new style and enter your contact information on the right side of the business card, and then also edit the size of the text field.
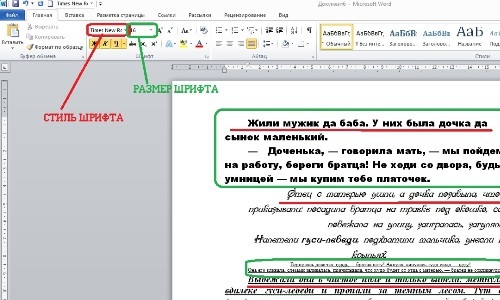
If you do not change the text formatting, the inscription will most likely turn out awkward, because the default size and font are rarely suitable. That is why it is recommended to do the following:
- Select the text you just entered.
- Go to the "Home" tab.
- In the "Font" tool group, select a font and text size so that it matches the overall style of the business card.
Now we have figured out the second stage of the instructions “How to make a business card in Word.” The third and final stage is next.
Insert a picture or logo
As noted earlier, any business card will look more presentable if you add an image or logo, so that's what we'll do now. This will be the final stage of the instructions on how to make business cards in Word.
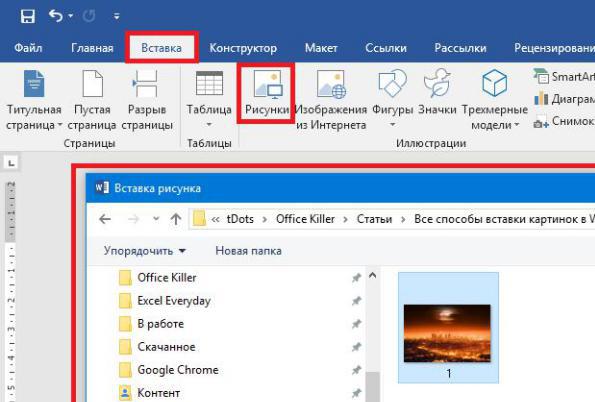
- Go to the "Insert" tab.
- In the "Illustrations" tool group, click the "Drawings" button.
- In the Explorer window that appears, go to the folder with the image and select it, then click “Insert”.
The image will be inserted, but you may notice that its size and location will not exactly match what you want. Therefore, it is necessary to hold down the LMB in the central part of the picture and, moving the cursor, move it to the desired place. And to change the size, you need to hover the cursor over its edge, hold down LMB and move the mouse. All that remains is to place the picture in its place, and that’s the end of the matter.
Final information

So you have learned how to make business cards in Word. Let us remind you that the instructions given can be modified by you, since it describes only general aspects and wishes. We hope the article was useful and you were able to find information in it that will help turn your plans into reality.


