The best positions for TT. Positions for lt. Tactics on the map Swamp wot for the top base team
Let's look at the best positions on maps for LT. We will identify and show only tactically important positions for the successful execution of aggressive reconnaissance masters.
We figured out the choice of equipment, crew skills and the basic principles of playing on LT. There are not many open cards for a convenient LT game. Specifically, for passing LBZ LT 15, where it is necessary to inflict a total of more than 7000 and 8000 damage, the following cards are suitable: Malinovka, Prokhorovka and Fiery Arc. On these maps there is a high chance of completing these tasks.
The maps are almost the same, with the exception of slightly changed landscape, sound and lighting. They are open cards, convenient for playing on tanks, tanks and self-propelled guns.
E1(alley) 
Advantages:
— the best position for spotting the enemy and very versatile, it makes it possible to shine light on an alley and part of the field;
Flaws:
- very frequent Blind shot to this place;
E2(alley) 
Advantages:
- rarely does anyone occupy this position, lack of Blind shot;
— easy change of position without possible damage.
Flaws:
— the positional location is lower than E1. Review coverage is less;
Advantages:
- the most popular position for spotting the enemy, allowing you to illuminate the alley and part of the field;
Flaws:
— one of the popular bushes on the map;
- frequent Blind shots in this place;
— changing position without taking damage is extremely difficult;
 Advantages:
- rarely does anyone occupy this position;
— easy change of position without possible damage
- almost no one blind shot at this place.
Flaws:
— it is unlikely to cause the required amount of damage to the enemy;
— possible light from passing people is as follows.
G9 (mountain)
Advantages
— an extremely rare position for LT;
- overview of the entire mountain and village.
Flaws:
— it is unlikely to cause the required amount of damage to the enemy;
Robin
The open map is convenient for playing on ST, LT and self-propelled guns. A priori, TTs do not like open cards, and even more so Malinovka. After capturing the mountain by any of the teams, a certain stalemate occurs.
Dividing the map according to symbols:

Let's look at the key positions from the upper (northern) respawn:
E4 (shore)

Advantages:
— the best position for illuminating the enemy and very versatile, it makes it possible to illuminate part of the field, the outermost part of the cowsheds and a hillock (G8);
— it is very difficult to illuminate the tank in this position.
Flaws:
- the most popular bush on the map which almost everyone knows about;
- very frequent Blind shots in this place;
— changing position without taking damage is extremely difficult

Advantages:
- an excellent position for spotting the enemy, it makes it possible to shine a light on a hillock, a base, or a crossing.
Flaws:
— it’s extremely difficult to get there at the beginning of the battle without being exposed;
— easily illuminated by tanks along the shore;
— changing position without taking damage is extremely difficult.

Advantages:
- a good position for spotting the enemy at a crossing and on a hill.
Flaws:
— easily illuminated by tanks;
— there is no point in trying to shine if the allied tank is on E4 and F5;

Advantages:
— the ability to illuminate fields and cowsheds, as well as the shore;
— it is difficult to illuminate the tank in this position.
Flaws:
— it is unlikely to cause a large amount of damage;
Let's look at the key positions from the lower (southern) respawn:
 Advantages:
— a position for active illumination of the enemy, makes it possible to illuminate opponents climbing the mountain and standing on the hill;
Flaws:
— it is advisable to move to this position at the very beginning of the battle;
— the position is under fire from the mountain;
— changing position without taking damage is extremely difficult.

Advantages:
— a position for passive and active exposure of the enemy, makes it possible to illuminate passage along J3
Flaws:
— quite often enemy tanks come to this square;
- unlikely to cause a large amount of damage.
A plain divided by a railway embankment. There are a large number of thickets and trees on the map, which provide good cover for artillery.
Prokhorovka
Yellow dots are light points.
Red dots are artillery.
Green areas are the location of tank destroyers.
Red areas are hot spots, main battle sites.
Yellow arrows—ST attack directions
Blue arrows - TT attack directions
Battle tactics:
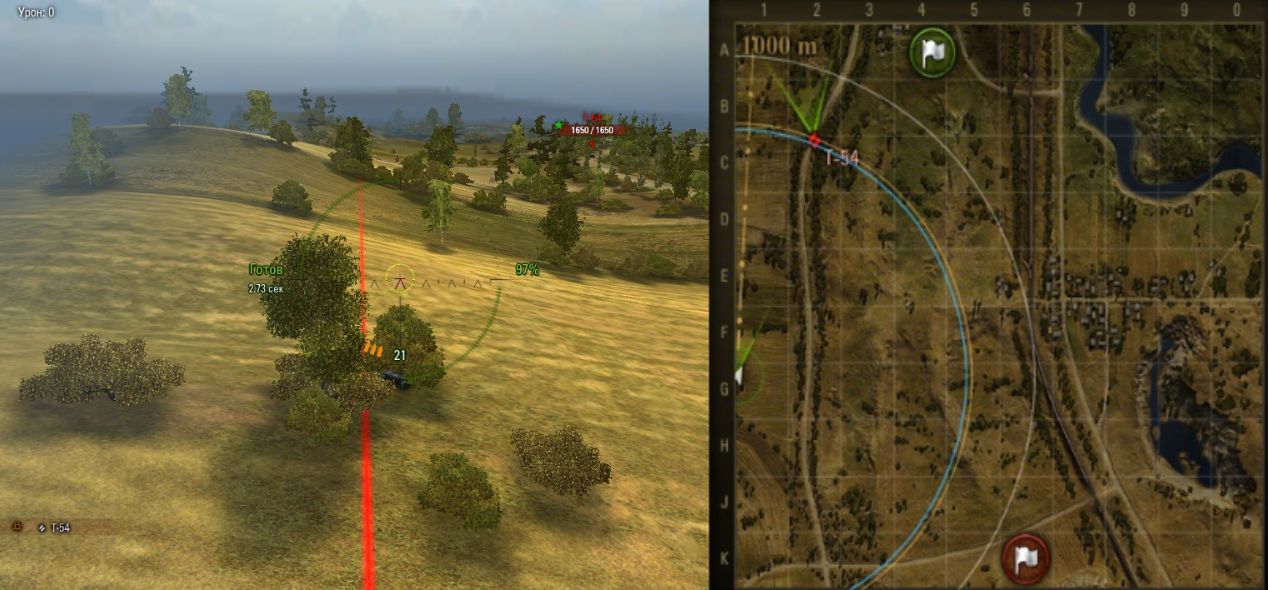
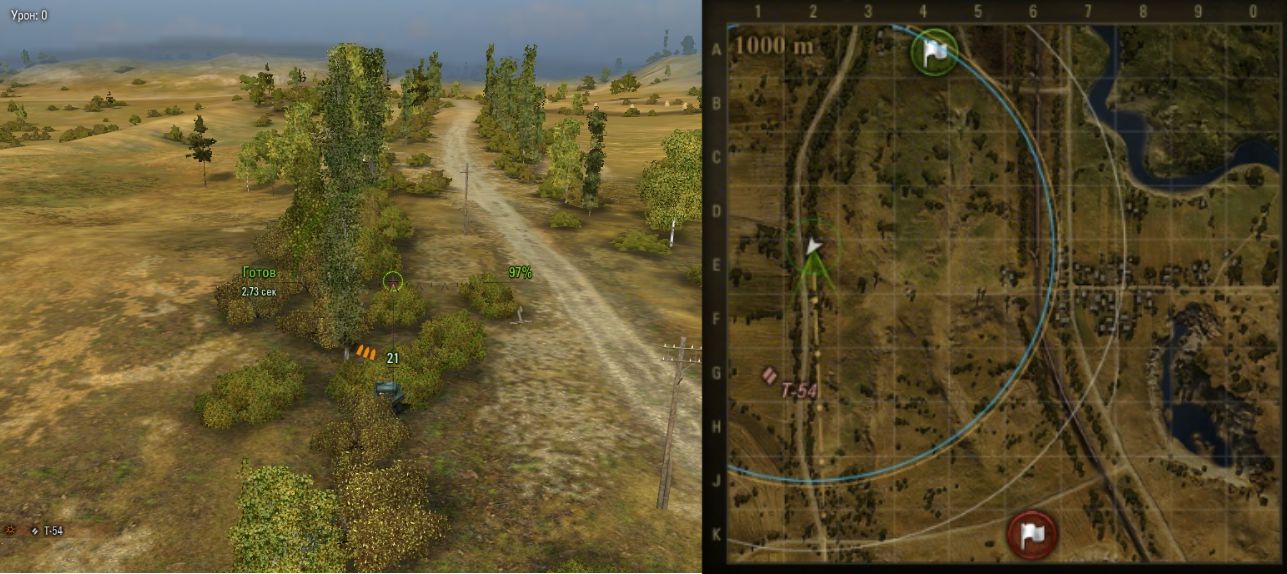
Light tanks (LT)- Their role, as in most cases, is to competently highlight enemy forces. Despite the apparent simplicity of the map, reconnaissance will play a key role in it, since the outcome will depend on one quick and well-coordinated attack. The nimble T-50 and T-50-2 tanks or the like are ideal for illumination. Riding along the top of the hill you can get a good view.
Tank destroyer- their location should be as hidden as possible in order to inflict maximum damage before they are discovered and defeated. On this map such a place is an alley. Also, good places for PT are marked with green dots.
Medium tanks (TS) They are trying to occupy the village as quickly as possible. This will allow you to take control of most of the Prokhorovka map on this side of the railway.
Heavy tanks (TT) It is better to divide into two groups. The first group (preferably in larger numbers) takes a position on the alley. The second group helps the LT storm the hill. The top tank from this group should take a point at the base at the crossing, but does not move from it. This way he will be able to view the entire area and at the same time hide in time for cover.
self-propelled guns- their task is to destroy the enemy’s top tanks whenever possible, or at least inflict maximum losses on the enemies.
This tactic is a passive-aggressive defense. We stick to it until the opportune moment comes. This could be the destruction of a significant part of the enemy’s troops or his elite tanks. In this case, we go on the attack boldly.
This is one of the very first cards in the game. It is also notable for the fact that the real site of the Prokhorovsky battle of 1943 was taken as a basis (on a minimized scale, of course). It's a fairly spacious map, with a rolling plain in the middle of the map, a dirt road on the left, a village, a railroad track, and a large mountain on the right. The dimensions of the map are 1000 by 1000 meters, and the level of battles is from 3 to 11. Over its long existence, players have tried absolutely all different defensive and rush tactics on it. Therefore, we can only combine everything into a single picture.
There are two key positions on the map – the mountain and the “alley”. Also an important point is the field, in the center of which there are houses and a crossing to the hill and the village. It's worth going up the hill, and most often. Gorka is the most important sector on the map. Having captured it, you can shoot enemies walking through the village. Therefore, gripping the slide is extremely important. "Alley" is a place of ambushes. Ideal position for. There is no point in defying the “alley”, but there is no need to get into trouble either. If you want to dress up on the “alley”, then it’s better to let it be PT. Heavy vehicles have nothing to do there: they are poorly camouflaged and have nowhere to hide in case of light. For this, this is probably the most favorite map: open spaces, hit wherever you want on Prokhorovka, usually drives across the field and through the bushes near the railway, so it’s better to take arte positions on the left side of the map, out of harm’s way. From the second respawn, STs and heavyweights can get to the hill a couple of seconds faster than their colleagues from the first, which gives them a slight advantage. Also, an excellent position for medium tanks is the middle of the field, from there you can shine and shoot up the mountain directly into the side of enemy tanks, and punish inexperienced enemies in the alley. But it's better in order.
Approximate travel routes for all types of equipment.
Green dots are cords or PT.
Yellow dots are light points/snipe points.
White dots are railroad crossings.
Red dots - art.
Yellow arrows - directions of attack of the ST.
Blue arrows are TT attack directions.
Tactics.
It should be said that both from the first and from the second respawn the tactics of action are the same. Everything will depend only on the direct hands of the players. It is best to send PTs to the alley - these comrades will not allow the tanks to approach the artillery and will illuminate them even before the enemy sees them themselves (which may not happen at all). Medium and heavy tanks are best sent to the railway road, to the village and to the hill. In the village, heavy warriors will feel more comfortable, because between the houses you can hide from fire, which will bring the battle closer to the urban type. TTs will also help their STs on the hill, or in case of failure, they will be able to hold off the enemy for some time. It is impossible to call any of the areas a priority. Both sectors are extremely important. The only difference is what your team will do in the “alley”: if you decide to def, then the heavyweights in the “alley” have nothing to do. You can, of course, leave 1-2 to cover the flanks of the tank. It is better to send the main forces to the village and to the hill. The ST's task is to occupy the hill. If they succeed, then victory is in your pocket. They will cover their heavy forces from the mountain into the villages, illuminate the enemy heavy forces with them and, descending from the hill, destroy the enemy artillery. Oh yes! I don’t think it’s worth mentioning about the observation bush on E1? An excellent place for passive light, a wonderful view of the entire “alley”, the main thing is not to move or shoot.
An attack from the second respawn is, in principle, no different from the first. The tasks facing the tanks are the same: the “alley” of tanks, tanks and heavy tanks are going to the village and to the hill. That's probably all. These are the general principles of combat operations on the Prokhorovka map, and it’s up to you to decide which tactics to choose for yourself. Good luck to everyone on the battlefields!
We'll look at the Marsh map. As usual, the map shows the main routes of movement of tanks of different classes in different colors.
Red circles indicate the starting points of light tanks. On this map, light tanks move mainly in 2 directions: from the starting point of the first base, light tanks move through the swamp or across the city bridge. Please note that LTs from the first base almost never travel across the outflow bridge, because the distance from the start is quite far and it is most likely impossible to successfully cross the bridge in the outflow.
Light tanks from the second base mainly travel in two directions: through the swamp or across the bridge in the creek. All LT routes are marked with yellow arrows.
Tank destroyers occupy different positions on the Swamp map. These are basically defensive points from which you can fire and remain undetected. All main locations of tank destroyers are marked with green circles, and movement routes are marked with green arrows.

Medium tanks on the Marsh map in the online game World of Tanks travel along routes marked with blue arrows. The main battles of medium tanks take place in the destroyed city and in the swamp. In the area of the city bridge, there is usually a firefight at a distance; sometimes, of course, medium tanks drive under the city and highlight enemy equipment. In general, the main sites of medium tank skirmishes are marked with pink circles.
The artillery on this map is located near the starting points behind the bushes, so it won’t be too difficult to find. Occasionally, the artillery will move away from the starting point to take a convenient position, but often they will still stop close to the starting position (Purple circles).

Heavy tanks on the Marsh map in the action game World of Tanks They travel mainly along two routes: across the city bridge and along the bridge across the outflow. Heavy tanks practically do not move through the swamp, since this place is shot from different sides, and it is not so easy to survive there. TT routes are indicated on the map with red arrows.
The Rush tactic on the Swamp map has its advantages. Rush through the swamp does not always go well, but if you have a lot of medium tanks in your team, then in principle it will be difficult to win. The main routes of Rush tactics go through bridges, as shown on the map with white arrows.
We welcome you, guests and guests of the portal. website! Today we will tell you about another World Of Tanks map - Swamp. The map is very simple and predictable, which is perhaps why it has not earned much love from players. However, let's talk about it and maybe you will learn something new.
General information.

Picture 1.
Swamp refers to summer maps (summer camouflage is used), available for battle levels 4 - 11, only in random battle mode. The standard size for our game is 1000*1000 meters. The wot map Swamp appeared in our game a long time ago, in patch 0.7.0. However, the gaming community and the developers themselves almost immediately recognized it as unsuitable for play, and already in patch 0.7.4. was withdrawn. For a long time it gathered dust in the archives of the Minsk office of map makers until in update 0.8.8., having undergone some changes, it was again added to the random. True, even then the players did not like the map and the developers had to radically remake the Swamp wot in update 0.9.9. To this day, the map is available in random battle mode, although it did not find much love among tankers even after major changes. Let's figure out what's wrong with this card.
Main components of the map:

Picture 2.
1. Upper base.
2. Positions to defend the top base
3. Convenient hill with bushes(used by tanks of the upper base to shoot through the swamp and enemy positions near the base).
4. Slide(a convenient direction for the team to quickly push through the lower base and enter the enemy base, but more often it is quickly cleared by the upper base team due to the fact that the positions of the upper base are located not far from the hill and the opponents who came here, encountering resistance, simply find themselves constrained in their actions) .
5. Lower base.
6. Positions for defending the lower base(there are some shelters from artillery here).
7. Convenient hill with bushes(used by tanks of the lower base to shoot through the swamp and enemy positions near the base).
8. Urban development(a convenient position for heavily armored tanks to measure the thickness of the armor, however, similar to the hill, it is most often simply cleared by tanks from the lower base with the support of allies from positions near their own base).
9. Central lowland(a swampy place, mostly unplayable and used only by fireflies to highlight and troll opponents on the hills; towards the end of the battle, when the situation on the battlefield becomes clear, it is used to quickly travel to the enemy hill and defensive positions near the base).
How to play on the Marsh map?
Friends, take a good look at the minimap. Does this remind you of anything? Yes, yes, it is very similar to the map. There are also two parts separated by a swamp, and each part is easier for one team to defend and push through than for the other team. So, for example, a part of the map with a hill is easier to capture for the team at the top base, and a part of the map with urban buildings is easier for the team at the bottom base to capture. However, on this map, unlike Erlenberg, it is still easier to push through the enemy part of the map, it will just require a little more tanks than usually go there in random.
Tactics on the Swamp wot map for the top base team:

Picture 3.
Picture 3 shows the standard gameplay scheme on the Swamp for the top base team. This tactic can be seen in every random battle on this map. PT-SAUs and other fans of shooting at someone else's light take up positions not far from their own base (zones displayed in blue): from these positions, good shots open into the central swamp and enemy hills, and also provide comfortable conditions for protecting their own base in the event of an enemy breakthrough tanks. These positions are good if there is no enemy firefly approaching them in the swamp, which will inevitably highlight and troll you. Fast tanks break through to the hill and, with the support of their allies, clear it. Other tanks drive along the hill, firing at enemies driving up the hill, and then they, teaming up with fast tanks from the hill, break through and press towards enemy positions near the base, gradually rocking the defense from different sides with the support of tank destroyers. You can often see tanks traveling to the town from the upper base. This is not always the best solution, because you will be shot at at the entrances to safe areas, and therefore do not be surprised that you reach the city already “bitten.” From the upper base it makes sense to go to the city only if your allies support you (it doesn’t make sense to go there with three or four tanks, since there will probably be more enemies there and they will have support from tank destroyer positions). It is worth saying that even if you are supported in an attack on a town and you successfully capture it, further advancement will be extremely difficult, since leaving the urban area is in direct fire from the more comfortable positions of tank destroyers. Artillery on the Swamp map from the upper respawn should take positions behind the allied forces and, as far as possible, move towards the hill.
Tactics on the Swamp wot map for the lower base team:

Picture 4.
As you can see in picture 4, the tactics from the lower base are practically the same. The only exception is that the team takes the city and moves from it to the enemy base, but going to the hill does not always make sense due to the fact that there are often more opponents there and they are under the cover of tank destroyers. Of course, for heavy and slow tanks in the Swamp it will be very convenient to play under the cover of city buildings and from your respawn it will be much more convenient to occupy the city than your opponents. However, after occupying the city (where it is not always possible to meet resistance), this position almost completely loses its relevance, because from here there are no shots at enemy positions, and shots at your own base are greatly limited by the position of your tank and are only possible as long as someone can provide you with illumination . For artillery there is a convenient lowland leading to the town, along which you must take positions and in the event of an enemy breakthrough, you must hide in the urban area.
In addition to the above, I would like to note that on the map Swamp wot both bases are located in open, well-exposed terrain without shelter and it makes sense to try to capture any of the bases only when you are sure that the enemy is far away.
Also, fast tanks (usually light ones) on the swamp map can try to win back through the central swamp. From here you can constantly highlight and troll enemies. However, if opponents fall on you, then you will not have time to escape and you can only hope that your allies will fire at the descending enemies in time. In the swamp, however, there are several hills behind which you can hide for a while.
In conclusion I will say, that the Swamp is played much faster and more dynamically than the same Erlenberg, but the tactics here are also not very diverse and, as a rule, the same situations are repeated from battle to battle. On the Swamp there is enough cover from the “suitcases” of artillery and long-range shots, but if you are not careful, you can easily end up in an uncomfortable position, as they say, find yourself in a half-position when your enemy has a clear advantage.
Dear readers, that’s all for today. See you on the new map!


